


Door Renovation: The Ultimate Guide
Refreshing your doors is a great way to restore their former glory and full functionality. Regardless of whether they are made of wood or felt, you can give them new life without having to replace them. This is an ideal solution for people who want to preserve the unique character of their interiors while avoiding high costs. In this guide, you will find detailed instructions that will help you renovate your doors yourself, step by step. We will share practical tips that will help you save money and give your doors a unique style.

Preparing for door renovation
Solid preparation is the foundation of success for any renovation project. Before you start, carefully inspect the doors and assess their technical condition. This will allow you to precisely determine the scope of work and select the right tools. First, remove all metal elements, such as door handles or locks. Don't forget to secure the work area - this way you will avoid accidental damage and mess. Remember about ventilation - it's not only a matter of comfort, but above all safety!
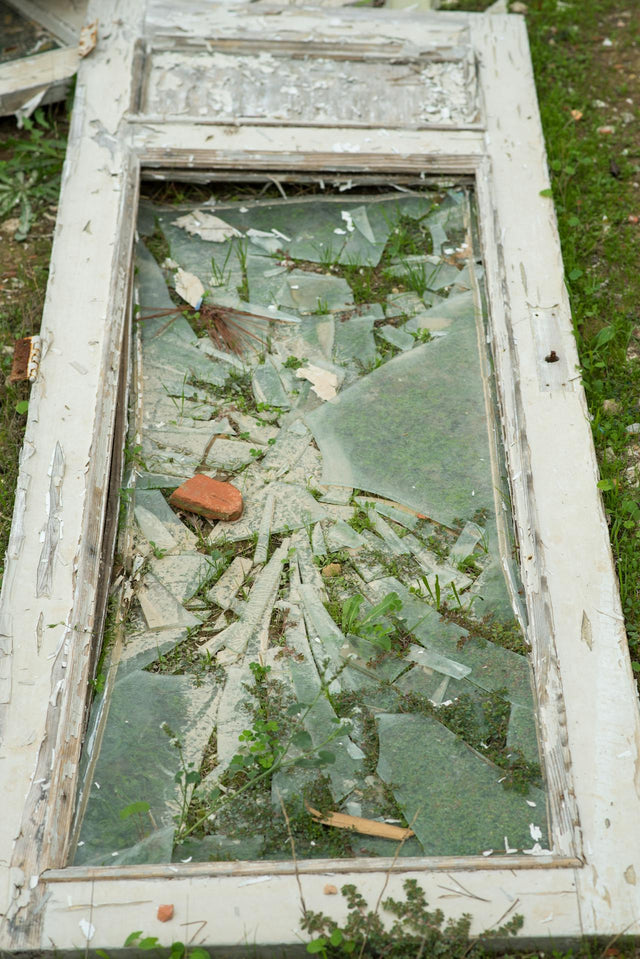
How to assess the condition of doors before renovation?
Assessing the condition of your door is a key step that will help you decide if renovation is worthwhile. Look closely for any of the following on the surface:
-
cracks,
-
holes,
-
traces of wood pests.
This analysis will allow you to plan the next stages of the work, which will affect the durability and aesthetics of the final effect. For example, deep holes require filling with appropriate filler before you proceed. Your doors may be in good condition, but the more carefully you perform this stage, the better the final result will be. Take your time - precision is key.

Tools and materials necessary for renovation
For effective door renovation, you need the right tools and materials to make your job easier. Here is a list of things to have on hand:
-
Orbital sander – ideal for removing old paint and smoothing surfaces.
-
Sandpaper of various grits – allows you to precisely prepare doors for painting.
-
Heat gun – indispensable for stubborn layers of paint.
-
Wood putty – effectively fills gaps.
Thanks to these tools, the work will proceed smoothly and the final effect will be durable and aesthetic. Good preparation is half the battle!

How to prepare the door surface for work?
Preparing the door surface is a step that largely determines the quality of the final effect. Follow these steps:
-
Remove old paint – use a heat gun or coarse sandpaper.
-
Matting the surface – use finer sandpaper to obtain a perfectly smooth base for new coats of paint.
Why is this so important? If the surface is not properly prepared, the new paint may not adhere well, which will affect its durability. It is better to spend more time now than to correct mistakes later. Accuracy at this stage is an investment in durability and aesthetics.
Wooden door renovation
Renovating wooden doors is a great way to restore their former glory and functionality, while emphasizing the natural beauty of wood. Wood , as a unique material, valued for its unique properties, is ideal for renovation, making it a popular choice among homeowners and apartment owners. The renovation process includes several key stages:
-
Removing old paint
-
Grinding
-
Repairing damage
-
Painting
-
Surface protection
Each of these steps requires the right tools, techniques and – equally important – patience. Only then can you achieve a lasting and aesthetic effect.

Removing Old Paint: Techniques and Tools
The first and one of the most important stages of renovating wooden doors is to remove the old paint . This can be done in two ways:
-
Mechanically – using a heat gun, which emits hot air, softening the paint and making it easier to remove. However, this requires precision so as not to damage the wood.
-
Chemically – using chemical paint strippers that dissolve old coatings, greatly simplifying the work.
Remember to use appropriate personal protective equipment, such as gloves and masks – safety is key . The method you choose will depend on the type of paint and the condition of the door, so it’s worth thinking it through carefully.
Sanding Doors: Sandpaper or Orbital Sander?
This is a key step in preparing the surface of the interior door for further work. You can do it in two ways:
-
By hand – using fine grit sandpaper, which is perfect for smoothing out surfaces after paint has been removed, ensuring a perfect finish.
-
Mechanically – using an orbital sander, which speeds up the work and is irreplaceable for larger surfaces.
The choice of tool depends on the scale of the project and your preferences. Remember that accuracy at this stage is of the utmost importance - there is no point in rushing, because this is where the quality of the final effect is shaped.

Repairing damage: using wood filler
Repairing damage is the moment when the door regains its aesthetic appearance and full functionality. Wood filler is irreplaceable when filling gaps such as:
-
Cracks
-
Holes
-
Traces of pests
In case of larger damage, it may be necessary to apply several layers of putty to obtain a smooth and even surface.
After each layer has dried, it is worth sanding it gently – this is the key to perfectly preparing interior doors for painting. This stage requires precision and patience, but the end result will certainly reward the effort .
Wooden Doors - Painting: Choosing the Paint and Application Technique
Painting interior doors is the stage where doors gain a new look and character. Choosing the right paint for interior doors is crucial for durability and aesthetics. Here are the most popular types of paints:
-
Acrylic paints – valued for their ease of application and quick drying.
-
Alkyd paints – provide greater resistance to damage.
-
Chalk paints – give doors a unique, matte look.
For painting you can use:
-
Paint roller – guarantees even coverage.
-
Brush – perfect for hard-to-reach places and details.
Apply the paint in thin layers – this will prevent streaking and provide better coverage. Most importantly, enjoy the process , because this is where the door takes on new life!
Door protection: wood stain and impregnation
Door protection is the last but extremely important stage of renovation, which determines their durability and resistance to external factors. Here are the most commonly used measures:
-
Varnish stain – both stains and protects wooden doors, giving them an elegant look and protecting them against moisture and mechanical damage.
-
Wood impregnation – provides deep protection against moisture, pests and UV radiation, which is especially important in the case of external doors.
The choice of the right product depends on the location of the door and the expected final effect. Thanks to proper protection, your door will serve for years , maintaining its beautiful appearance. This is the real cherry on the cake of the entire renovation process!

Renovation of board doors
Refreshing doors made of so-called felt is a great way to give them new life without the need for expensive replacement. You can achieve this in a few simple and inexpensive ways, such as painting, pasting or using wallpapers . Old doors made of felt can gain a modern and stylish look that will surprise everyone. It all depends on your preferences - both aesthetic and practical - and the technical condition of the doors.
One of the easiest ways to renovate doors is to paint them. The key here is to choose the right paint depending on the material the doors are made of , which will provide durability and an aesthetic finish. Alternatively, you can reach for wallpaper or photo wallpaper, which will allow you to obtain unique patterns and textures. What's more, you can renovate felt doors yourself. This not only saves money, but also gives you great satisfaction from the work you've done yourself. Try it - the new look of the door may surprise you!
How to renovate old interior doors made of fiberboard step by step?
The process of renovating felt doors can be divided into several simple stages:
-
Dismantling components: Remove door handles, hardware (hinges) and other components to make further work easier.
-
Leveling the surface: Remove the door from the frame and sand the door leaf thoroughly to remove any roughness and prepare it for further work. This is a key step that will ensure better adhesion of the paint or veneer.
-
Painting or veneering: Once the surface is prepared, you can start painting or applying a veneer. If the door has glass, especially if it is smooth glazing, it is worth using a veneer or a special matting paint for glass. Pay attention to the drying time of your paint. Doors with convex patterns may require longer drying time.
Painting the door in different colors on one side is a great idea for a child's room.
Remember that each stage of repainting requires precision and care. A paint tray, paint foil and protective gloves will be useful when painting doors.
Painting Old Fiberboard Doors: Paints and Techniques
Repainting a board door requires the use of appropriate paints that will ensure durability and aesthetics. The most frequently recommended ones include:
-
Alkyd paints: They are characterized by high resistance to mechanical damage.
-
Chalk Paints: Perfect for a matte finish and vintage look.
-
Alkyd paints: Provide durability and resistance to moisture.
-
Acrylic paints: Ecological and quick-drying, perfect for interiors.
Painting technique plays an equally important role. To paint doors in the best possible way, it is important to apply the paint evenly - preferably with a paint roller or brush. A roller works well on larger surfaces, while a brush is irreplaceable for details and hard-to-reach places. Choosing the right technique and paint will allow you to achieve a professional effect that will please the eye for many years.
Note: Painting old wooden doors often requires filling in any gaps on their surface before applying the paint!
Veneer and wallpaper: alternative finishing methods
Veneer and wallpaper are great alternatives to traditional painting. They can give your door a completely new character without having to use paint. Veneer is a decorative material that you can easily apply to the surface of the door, changing its appearance in a few moments. The choice of patterns and colors is huge, which allows you to match them to any interior style - from classic to modern.
Use degreasing products designed for furniture surfaces. Old room doors covered with oil paint will require appropriate working conditions. Renovating old doors, including sanding them, will create dust from the old paint. Therefore, you need to protect the space in which you are renovating the appearance of the door.
Door wallpaper is another option that offers almost unlimited design and textural possibilities. With it, you can introduce unique accents to the interior that will attract attention and give the room a unique character. Both veneer and wallpaper are easy to apply, making them ideal for people who want to quickly and effectively change the look of their doors. Will these methods become the future of renovating old doors? Time will tell, but one thing is for sure - their popularity is constantly growing!